How I did It...
I got my felt made previously and placed it onto a piece of foam, this ensures that the needle stabs the material safely and punctures the foam rather than the table. I then got some felt fibers and made a shape onto my felt, I then used a triangle single needle felting tool to continuously stab the felt into the shape I wanted, I started round the outside and worked inwards. For larger shapes I used four needles. This was fun to do because the shapes you ended up with were alot more accurate than wet felted shapes, it takes alot of time because you are stabbing the felt fibers through the thick piece of felt, they are now attached, remember to use small pieces of felt to make it easier, then add more if necessary. When I used the four needles it was alot harder because it kept becoming embedded in the felt, so I went back to using a single needle. This was one of my favourite techniques because it produces beautiful images. Health and safety: be very careful when stabbing the felt because you are using rapid movement and the needle is extremely sharp, keep the needle in the foam when you are not using it. always concentrate 100%.
 |
| Felt Fibers |
 |
| Piece of foam, single needle and felt sample. |
 |
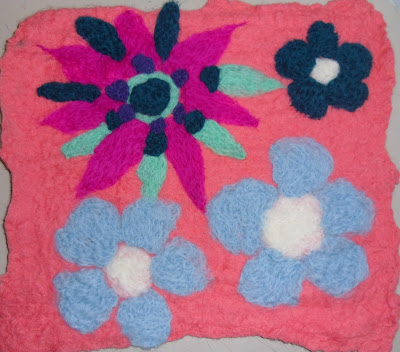
| Wet felt process pink background, needle felted flowers, pale blue, dark pink, white, purple, turquoise felt fibers. I really like this sample because its very girly and colourful. |
 |
| Ready made felt, needle felted daisy, white, yellow, green felt fibers. This was really simple to do. |
 |
| Wet felt process, yellow, needle felted lady birds, red, black and white. This was easy to do but it took a while, it went well with my nature theme. |

No comments:
Post a Comment